Hyundai Tucson: Roof Trim - General type
Hyundai Tucson - Fourth generation (NX4) - (2020-2023) - Workshop Manual / Body (Interior and Exterior) / Roof Trim / Roof Trim - General type
Components
General type
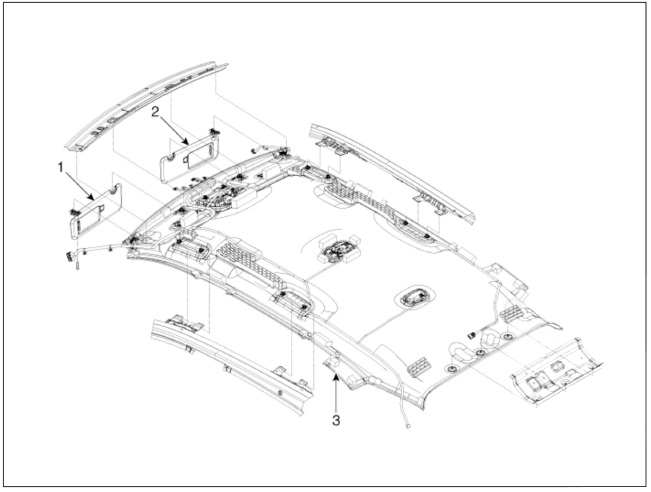
- Sunvisor LH
- Sunvisor RH
- Roof trim
Panorama sunroof type
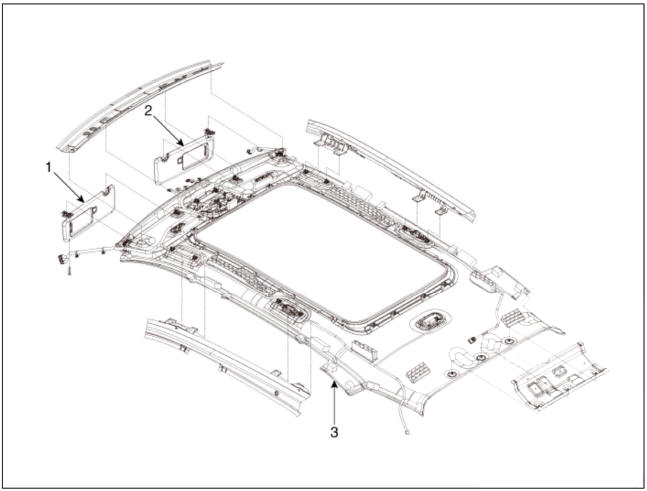
- Sunvisor LH
- Sunvisor RH
- Roof trim
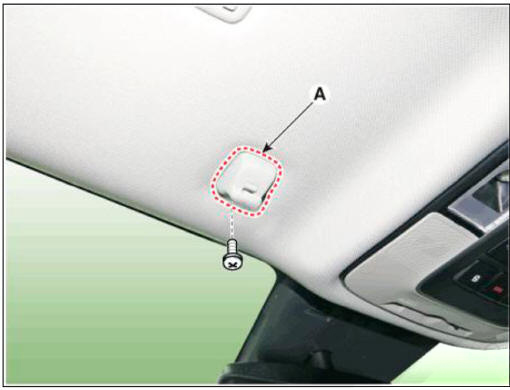
Component Location
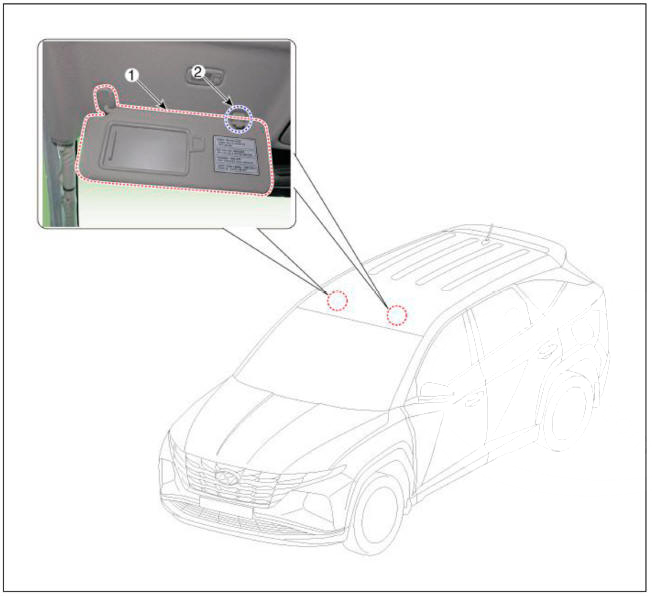
- Sunvisor
- Retainer
Replacement
Sunvisor
- Remove the sunvisor pivot cover (A).
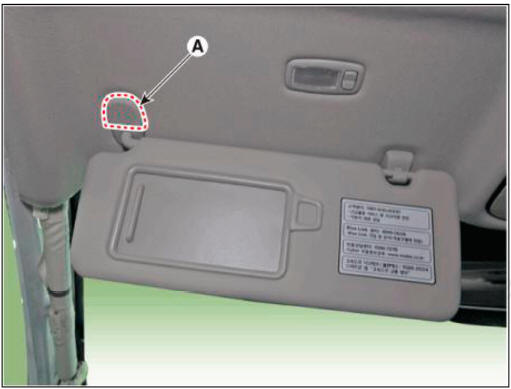
- Loosen the mounting screw and remove the sunvisor (A).
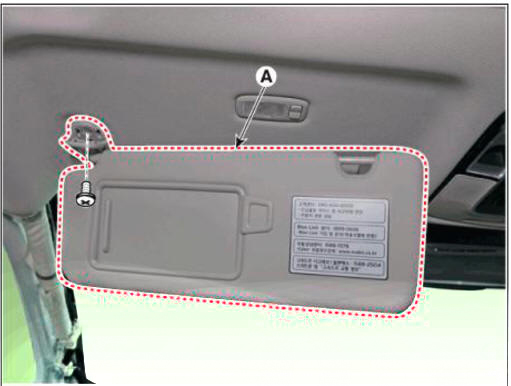
- To install, reverse removal procedure.
Retainer
- Loosen the mounting screws and remove the retainer (A).
- To install, reverse removal procedure.
Assist handle
Component Location
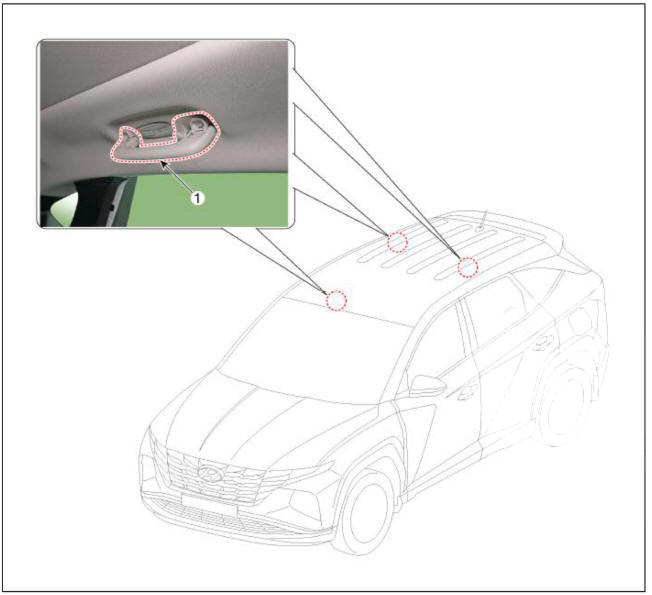
- Assist handle
Replacement
- After lifting up the assist handle caps and loosening the mounting screws, remove the assist handle (A).
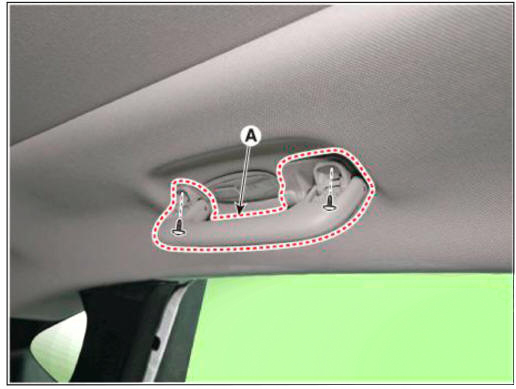
- To install, reverse removal procedure.
READ NEXT:
 Roof trim assembly
Component Location
Roof trim assembly
Replacement
WARNING
When removing with a flat-tip screwdriver or remover, wrap
protective tape around the tools to
prevent damage to components.
Put on gloves to prevent hand injuries.
W
Interior Trim
Components
Cowl side trim LH
Cowl side trim RH
Front pillar trim
Center pillar upper trim
Front door scuff trim
Center pillar lower trim
Rear door scuff trim
Rear pillar trim
Door scuff trim
Front door scuff trim
Rear door scuff trim
Replacement
Front door scuff trim
WARNING
When removing with a flat-tip screwdriver or remover, wrap
protective tape around the tools to
prevent damage to components.
Put on gloves t
SEE MORE:
Charge and Retest method after battery charge
Battery charge
Set battery charger to 'Auto Mode' (The Mode that charging current drops as
the battery charges.) and
charge battery until charging current down close to zero or the charger alerts
you with an alarm when charge
is complete.(Mini
Active Air Flap (AAF) Actuator
Remove the front bumper.
(Refer to Body (Interior and Exterior) - "Front Bumper Cover")
Disconnect the active air flap connector (A).
RH
LH
Remove the active air flap actuator (A) after loosening the mounting
screw
Information
- Home
- Hyundai Tucson - Fourth generation (NX4) - (2020-2023) - Owner's Manual
- Hyundai Tucson - Fourth generation (NX4) - (2020-2023) - Workshop Manual
