Hyundai Tucson: Transfer Assembly- Installation
Hyundai Tucson - Fourth generation (NX4) - (2020-2023) - Workshop Manual / Wheel Drive (4WD) System / Transfer Assembly / Transfer Assembly- Installation
- To install, reverse the removal procedures.
WARNING
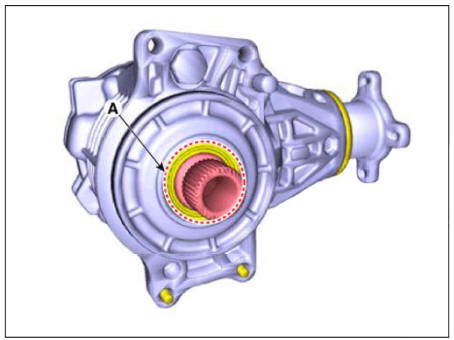
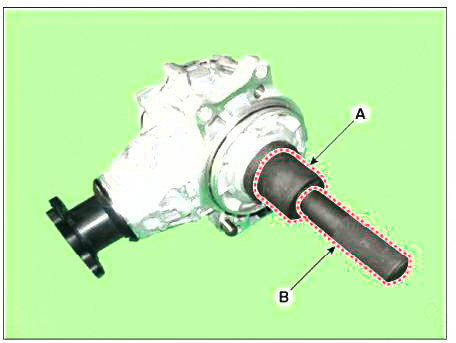
- Be careful not to damage the O-ring (A). If the O-ring is damaged, replace with a new one.
- Smear and cover splines (B) with molybdenum type high pressure grease.
GREASE SPL-1 equivalent (MS511-07)
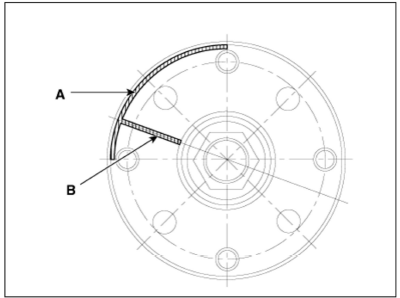
A Type

B lype
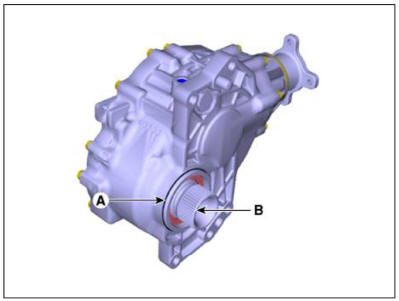
- Install the propeller shaft to be near runout marking (Transfer
assembly lea (A), propeller shaft lea (B) each
other.
Transfer Assembly- Replacement
Replacement
Transaxle side oil seal AType
- Remove the transfer assembly.
(Refer to 4 Wheel Drive (4WD) System - "Front Wheel Transfer Assembly")
- Remove the transfer assembly side oil seal (A).
- Install the oil seal with a new one by using the special service tools 09473-D3600(A), 09231-H1100 (B).
- Remove the special service tools
- Install the transfer assembly.
(Refer to 4 Wheel Drive (4WD) System - "Front Wheel Transfer Assembly")
READ NEXT:
 Driveshaft side oil seal # 1 B Type
Remove the transfer assembly.
(Refer to 4 Wheel Drive (4WD) System - "Front Wheel Transfer Assembly")
Remove the dust cover (A).
Remove the oil seal #1 (A).
Install the oil seal #1 (A) with a new one by using t
Driveshaft side oil seal #2 B Type
Remove the transfer assembly.
(Refer to 4 Wheel Drive (4WD) System - "Front Wheel Transfer Assembly")
Remove the dust cover (A).
Remove the oil seal #2 (A).
Install the oil seal #2 (A) with a new one by using t
Driveshaft side oil seal #3 B Typel
Remove the transfer assembly.
(Refer to 4 Wheel Drive (4WD) System - "Front Wheel Transfer Assembly")
Remove the dust cover (A).
Remove the oil seal #2 (A).
Remove the oil seal #3 (A).
Install the oil
SEE MORE:
Purge Control Solenoid Valve (PCSV)
Description
Purge Control Solenoid Valve (PCSV) is a solenoid valve and is installed on
the surge tank and
controls the passage between the canister and the intake manifold.
The evaporative gases gathered in the canister are delivered to the i
Gauges and meters
Speedometer
The speedometer indicates the speed of
the vehicle and is calibrated in miles per
hour (MPH) and/or kilometers per hour
(km/h).
Tachometer
The tachometer indicates the
approximate number of engine
revolutions per minute (R
Information
- Home
- Hyundai Tucson - Fourth generation (NX4) - (2020-2023) - Owner's Manual
- Hyundai Tucson - Fourth generation (NX4) - (2020-2023) - Workshop Manual
