Hyundai Tucson: Rear seat back cover - CTR
Hyundai Tucson - Fourth generation (NX4) - (2020-2023) - Workshop Manual / Body (Interior and Exterior) / Rear Seat / Rear seat back cover - CTR
- Remove the rear seat back assembly RH.
(Refer to Rear Seat - "Rear Seat Assembly")
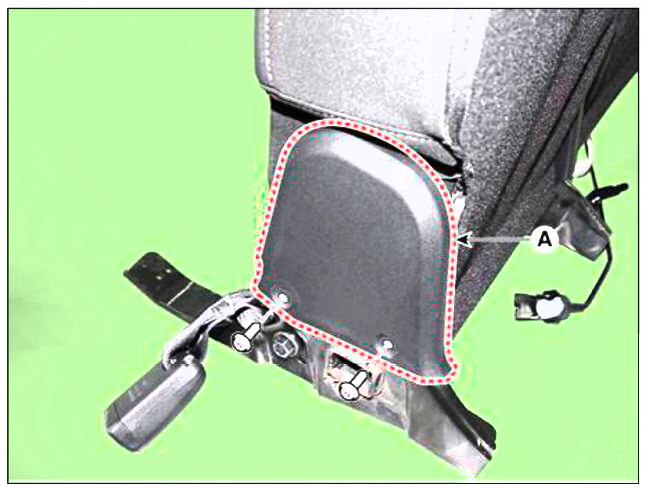
- Loosen the mounting screws, remove the rear seat shield inner cover (A).
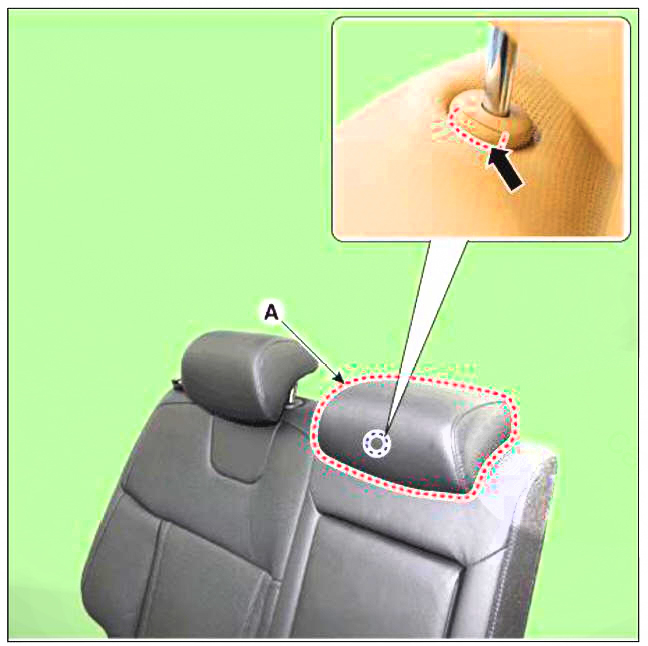
- Press the lock pin and remove the rear seat headrest (A).
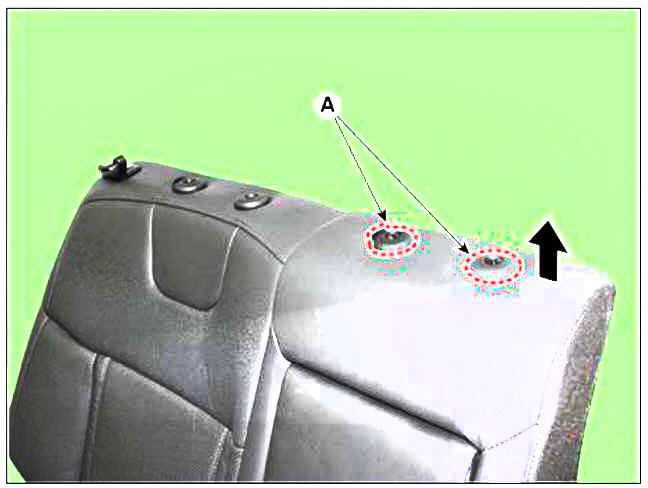
- Remove the headrest guides (A) by pulling upward.
- Remove the rear seat back protector (A).
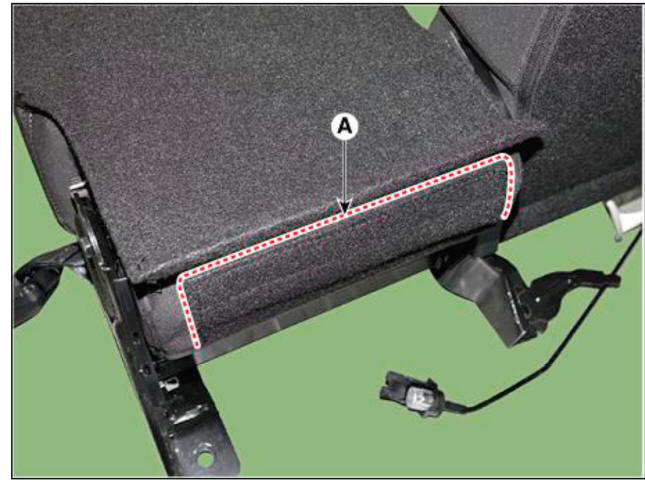
- Remove the hog-ring clips (A).
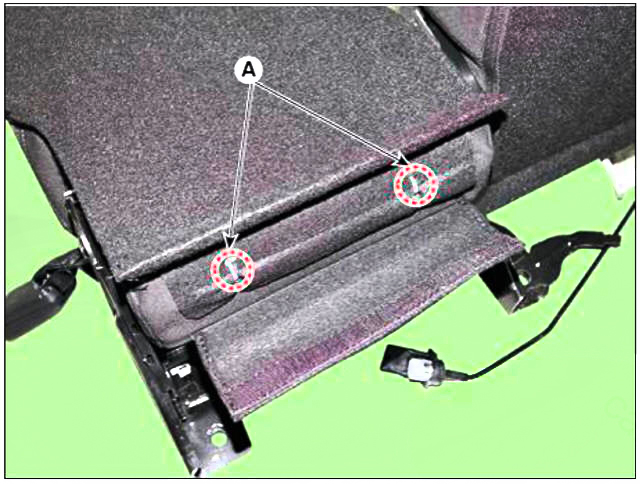
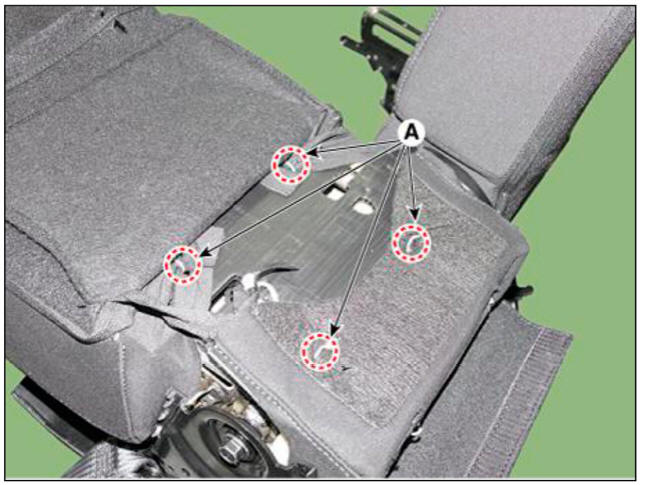
- Using a screwdriver or remover, remove the folding cover (A).
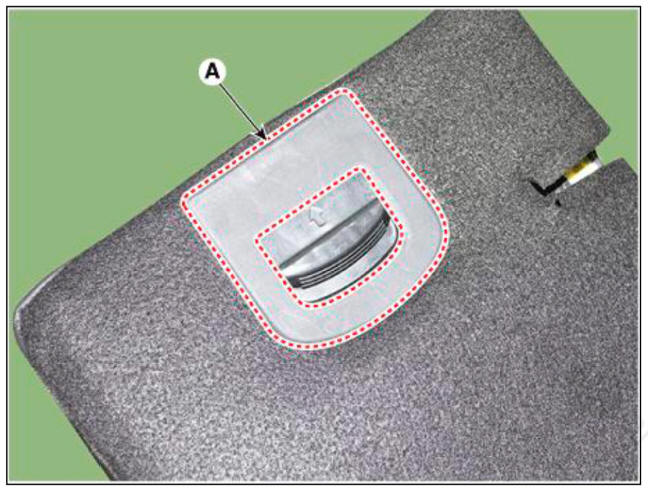
- Remove the rear seat back cover (A).
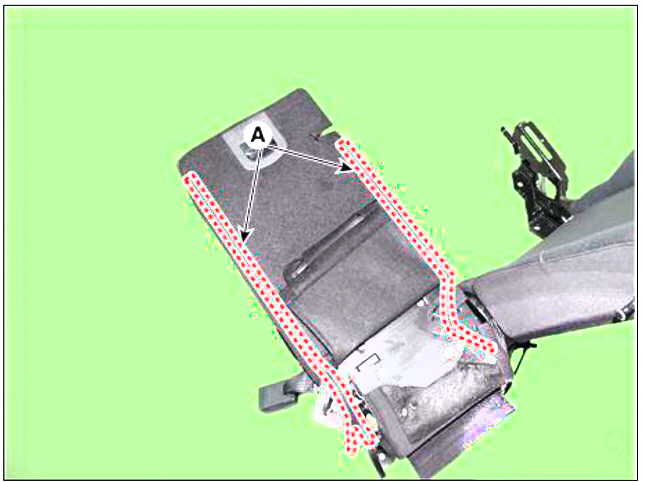
- Loosen the mounting bots, remove the rear seat arm rest (A).
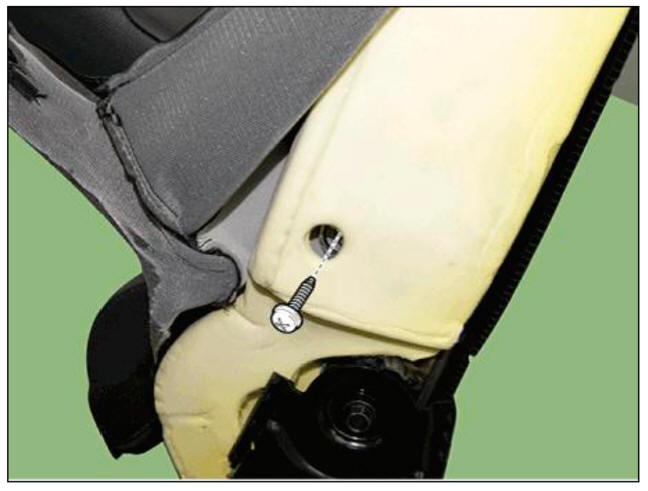
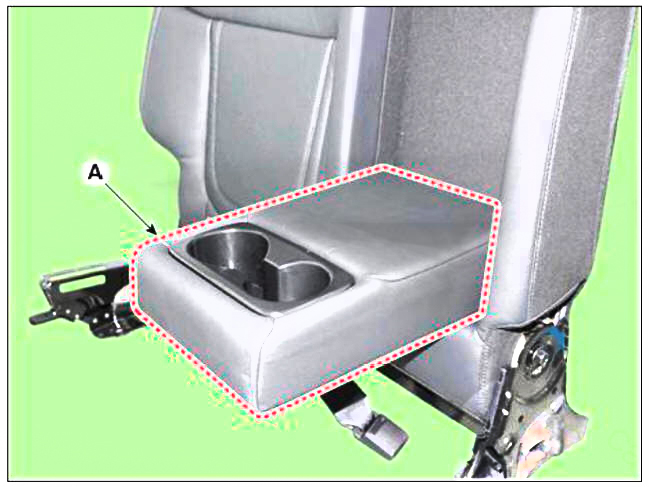
- Remove the hog-ring clips (A) and remove the rear seat back cover.
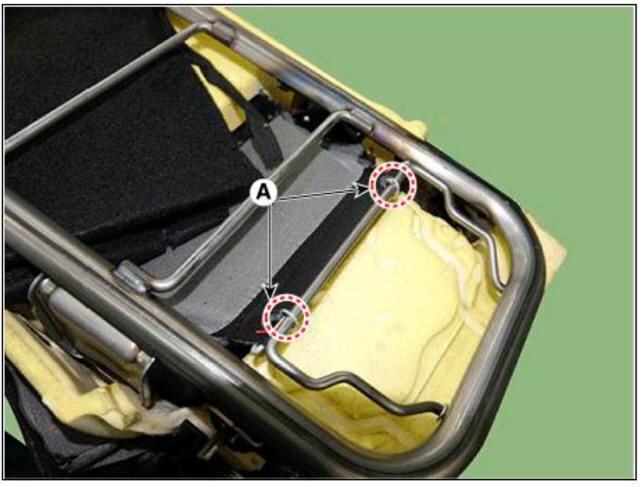
- Remove the seat cushion cover (A).

WARNING
Be careful not to deviate from the pads, insert wires, and aplix.
- To install, reverse the removal procedure.
WARNING
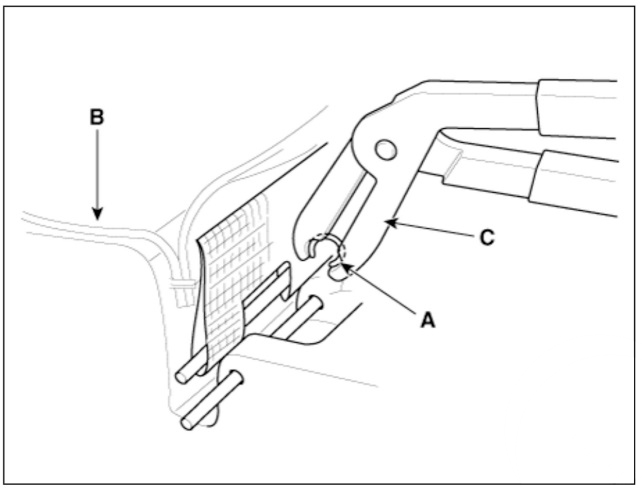
- To prevent wrinkles, make sure that the cover (B) is stretched evenly before connecting the hog-ring clips (A).
- Replace the hog-ring clips with new ones using special tool (C)
(09880-4F000).
READ NEXT:
 Rear seat cushion assembly
Component Location
Rear seat cushion assembly
Replacement
WARNING
Put on gloves to protect your hands.
WARNING
Take care not to bend or scratch the rear seat assembly.
Remove the rear seat cushion assembly.
(Refer to Rear Seat -
 Front Seat Belt
Components
Front seat belt retractor
Height adjust
Rear seat belt retractor
Rear seat belt buckle RH
Rear seat belt buckle CTR
Rear seat belt buckle LH
 Front seat belt pretensioner
Component Location
Front seat belt pretensioner
Replacement
WARNING
When installing the belt, make sure not to damage the pretensioner.
Disconnect the negative (-) battery terminal.
Remove the center pillar upper trim.
(Refer to
SEE MORE:
 Rail Pressure Sensor (RPS)
Description
Installed on the delivery pipe, the Rail Pressure Sensor (RPS) measures the
instantaneous fuel pressure
in the delivery pipe. The sensing element (Semiconductor element) built in the
sensor converts the
pressure to voltage signal.
 Safe exit warning (SEW)
After the vehicle stops, when an
approaching vehicle from the rear area is
detected as soon as a passenger opens
a door, Safe Exit Warning will warn the
driver with a warning message and
an audible warning to help prevent a
collision.
CAUT
Information
- Home
- Hyundai Tucson - Fourth generation (NX4) - (2020-2023) - Owner's Manual
- Hyundai Tucson - Fourth generation (NX4) - (2020-2023) - Workshop Manual