Hyundai Tucson: Handling Wires and Harnesses
Hyundai Tucson - Fourth generation (NX4) - (2020-2023) - Workshop Manual / Body Electrical System / General Information / Handling Wires and Harnesses
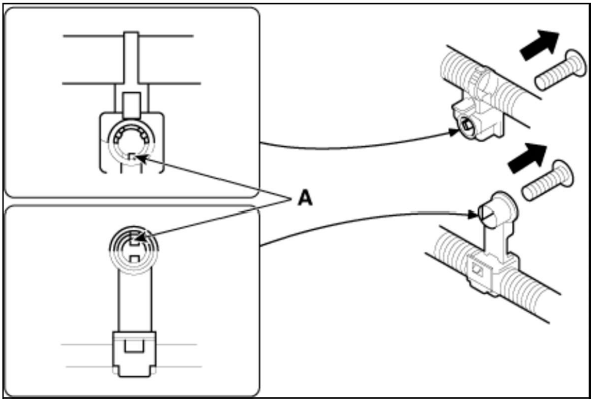
- Secure wires and wire harnesses to the frame with their respective wire ties at the designated locations.
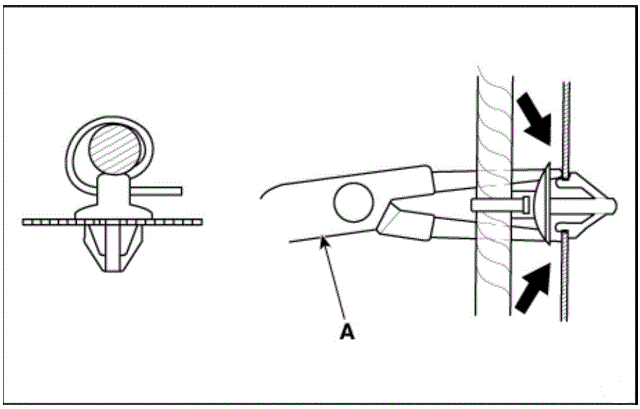
- Remove clips carefully; don't damage their locks (A).
- Slip pliers (A) under the clip base and through the hole at an angle, and then squeeze the expansion tabs to release the clip.
- After installing harness clips, make sure the harness doesn't interfere with any moving parts.
- Keep wire harnesses away from exhaust pipes and other hot parts, from sharp edges of brackets and holes, and from exposed screws and bolts.
- Seat grommets in their grooves properly (A). Do not leave grommets distorted (B).

Testing and Repairs
- Do not use wires or harnesses with broken insulation.
Replace them or repair them by wrapping the break with electrical tape.
- After installing parts, make sure that no wires are pinched under them.
- When using electrical test equipment, follow the manufacturer's instructions and those described in this manual.
- If possible, insert the remover tool from the wire side (except waterproof connector).
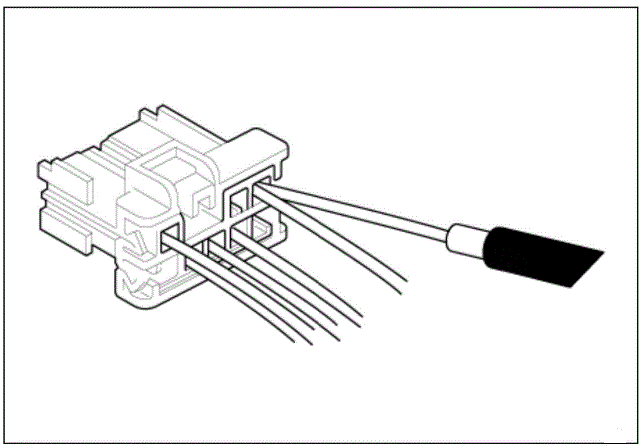
- Use a probe with a tapered tip.
Refer to the user's guide in the wiring repair kit (Pub No. : TRK 015.) Five-

READ NEXT:
 Five-step Troubleshooting
Verify the complaint
Turn on all the components in the problem circuit to verify the customer
complaint. Note the
symptoms. Do not begin disassembly or testing until you have narrowed down the
problem area.
Analyze the schematic
Loo
Display audio - Removal
Disconnect the negative (-) battery terminal.
Remove the front monitor lower cover (A).
Remove the front monitor lower cover after disconnecting the mood lamp
connector
Remove front monitor side cover (A) and (B).
SEE MORE:
Smart Key Code Saving
Smart
Connect the DLC cable of diagnostic tool to the data link connector (16
pins) in driver side crash pad lower panel, turn the
power on diagnostic tool.
Select the 'S/W Management' and 'Car model'.
Select the
Piston Pin - Disassembly
WARNING
Use fender covers to avoid damaging painted surfaces.
To avoid damage, unplug the wiring connectors carefully while
holding the connector portion.
WARNING
Mark all wiring connector and hoses to avoid misconnection.
To releas
Information
- Home
- Hyundai Tucson - Fourth generation (NX4) - (2020-2023) - Owner's Manual
- Hyundai Tucson - Fourth generation (NX4) - (2020-2023) - Workshop Manual
