Hyundai Tucson: Quarter Fixed Glass
Hyundai Tucson - Fourth generation (NX4) - (2020-2023) - Workshop Manual / Body (Interior and Exterior) / Quarter Fixed Glass
Components
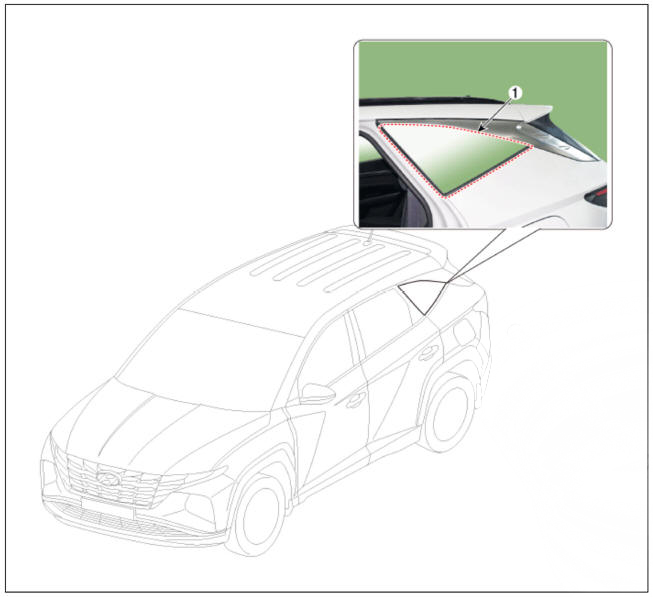
- Quarter fixed glass
Removal
WARNING
- When removing with a flat-tip screwdriver or remover, wrap protective tape around the tools to prevent damage to components.
- Put on gloves to prevent hand injuries.
WARNING
Take care not to bend or scratch the trim and panels.
- Remove the roof trim.
(Refer to Roof Trim - "Roof Trim Assembly")
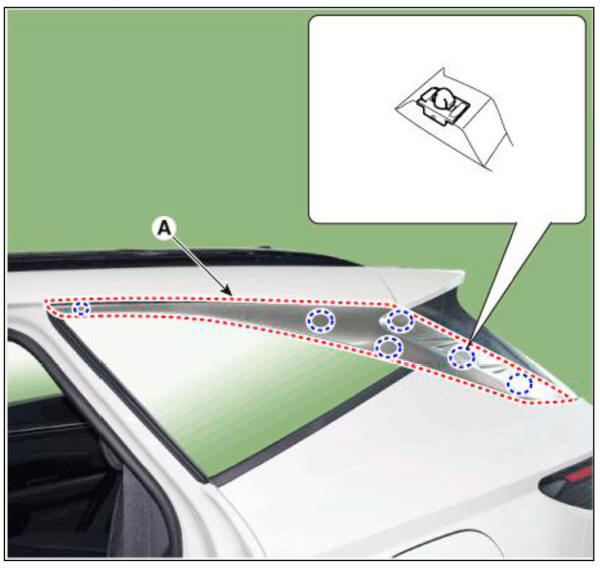
- Remove the C pillar garnish (A).
- Loosen the quarter fixed glass mounting nuts.

- Cut out the quarter fixed glass sealant using the utility knife.
WARNING
Do not scrape down to the painted surface of the body as bonding strength may get diminished on damaged paint.
WARNING
- Remove the rubber dam and fastereners from the body.
- Mask off surrounding surfaces before painting.
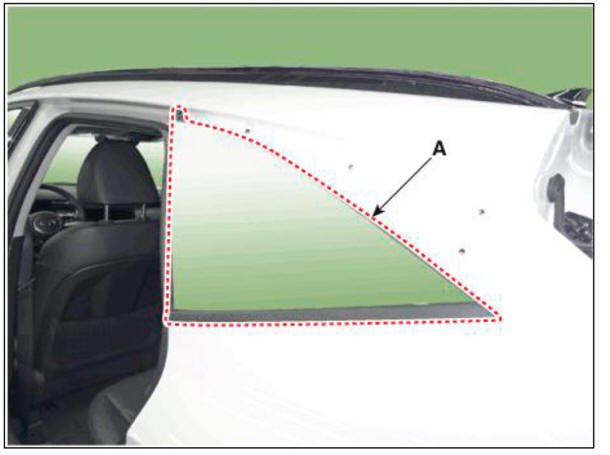
- Remove the quarter fixed glass (A).

Installtion
- With a putt knife, scrape the old adhesive smooth to a thickness of about 2mm (0.08 in.) on the bonding surface around the entire quarter fixed glass flange.
WARNING
- Do not scrape down to the painted surface of the body as bonding strength may get diminished on damaged paint.
- Mask off surrounding surfaces before painting.
- Clean the body bonding surface with a sponge dampened in alcohol. After cleaning, keep the surface away from oil, grease and water.
- With a sponge, apply a light coat of glass primer along the edge of the quarter fixed glass, and then lightly wipe it off with a gauze or cheese cloth.
WARNING
- Do not apply body primer to the quarter fixed glass, and do not get body and glass primer sponges mixed up.
- Never touch the primed surfaces with your hands. If you do, the adhesive may not bond to the quarter fixed glass properly, causing a leak after the quarter fixed glass in installed.
- Keep water, dust, and abrasive materials away from the primed surface.
- With a sponge, apply a light coat of body primer to the original adhesive remaining around the flange. Let the body primer diy for at least 10 minutes.
WARNING
- Do not apply glass primer to the body, and be careful not to mix up glass and body primer sponges.
- Never touch the primed surfaces with your hands.
- Install the quarter fixed glass and nuts (A).
Tightening torque : 3.9 - 4.4 N.m (0.4 - 0.45 kgf.m, 2.9 - 3.3 lb-ft)

WARNING
Install the quater fixed glass by tightening the bolts, in the
sequence as shown. 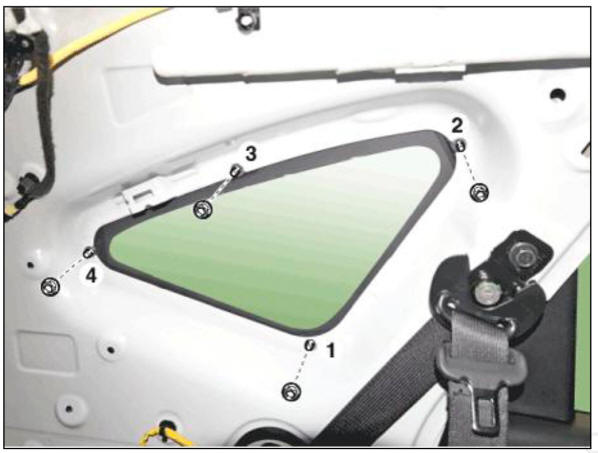
- Install the roof trim.
(Refer to Roof Trim - "Roof Trim Assembly")
READ NEXT:
 Floor Carpet
Replacement
WARNING
When removing with a flat-tip screwdriver or remover, wrap
protective tape around the tools to prevent damage to
components.
Put on gloves to prevent hand injuries.
WARNING
Take care not to bend or scratch the trim
Front Bumper - Replacement
Components
Front bumper assembly
Front bumper side bracket
Component Location
Front bumper assembly
Replacement
WARNING
When removing with a flat-tip screwdriver or remover, wrap
protective tape around the tools to
p
SEE MORE:
Emission control system
The emission control system of your
vehicle is covered by a written limited
warranty. Please see the warranty
information contained in the Service
Passport in your vehicle.
Your vehicle is equipped with an
emission control system to meet all
Inside rear view mirror
Component Location
Inside rear view mirror
Replacement
WARNING
When removing with a flat-tip screwdriver or remover, wrap
protective tape around the tools to
prevent damage to components.
Put on gloves to prevent hand injuries.
Information
- Home
- Hyundai Tucson - Fourth generation (NX4) - (2020-2023) - Owner's Manual
- Hyundai Tucson - Fourth generation (NX4) - (2020-2023) - Workshop Manual
