Hyundai Tucson: Ower Seat Motor
Component Location
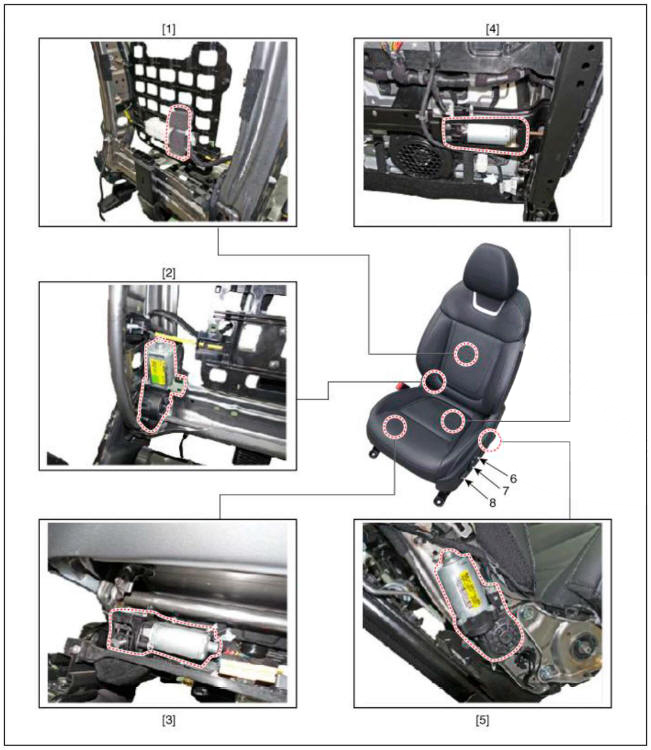
- Lumber support motor
- Reclining motor
- Front height motor
- Slide motor
- Rear height motor
- Lumbar support switch
- Reclining switch
- Power seat switch
Inspection
Ower Seat Motor
- Remove the front seat assembly.
(Refer to Body - "Front Seat Assembly")
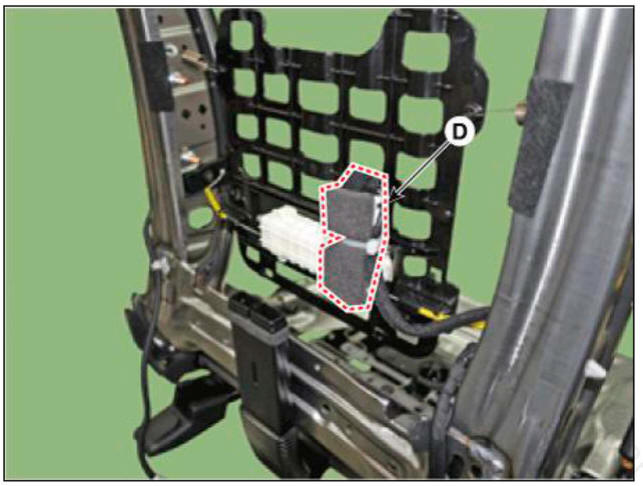
- Slide motor
- Rear height motor
- Front height motor
- Lumbar support motor
- Reclining motor
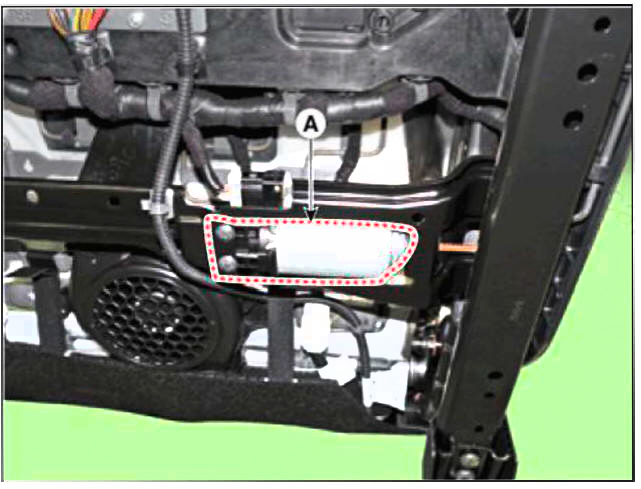
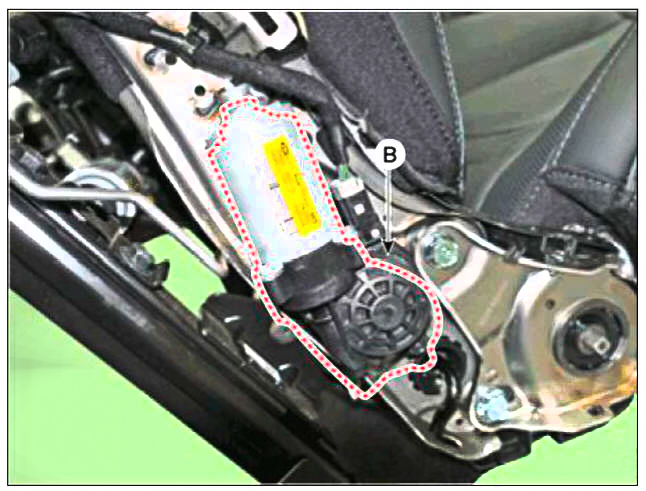
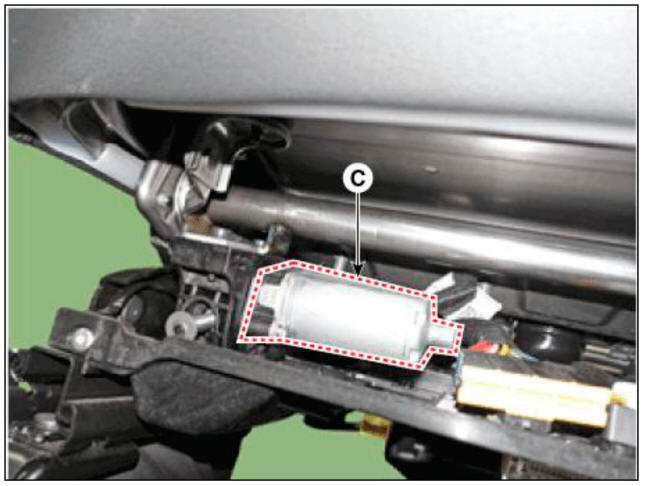
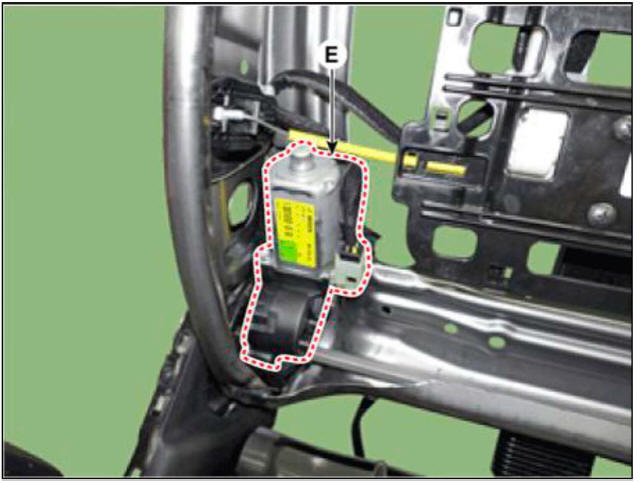
- When the battery power is supplied to the motor connector, check the motor for smooth operation.
- Reverse the connections and check that the motor turns in reverse.
- If there is an abnormality, replace the motors.
READ NEXT:
 Reclining Motor Limit Switch
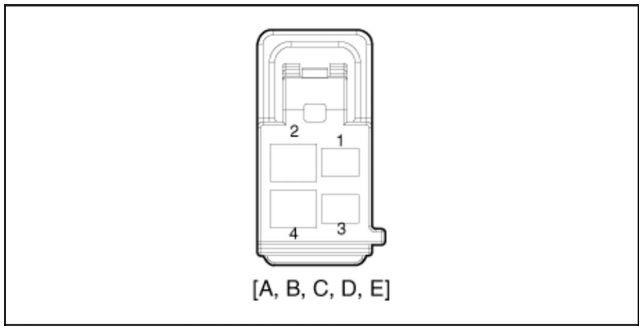
Disconnect the limit switch and operate the limit switch and then check
for continuity between the
terminals.
Make sure that the seat operation is normal in the reverse after the
maximum operation.
If there is an abnormality, replace t
Seat heater
Components
Seat heater unit
Seat cushion heater
Seat back heater
Second line seat heater unit
Second line seat cushion heater
Second line seat back heater
Driver/Passenger Seat Heater
Components
Second Line Seat Hea
Seat heater (Ventilation)
Components
Seat cushion heater (Ventilation)
Seat heater (Ventilation) unit
Seat back heater (Ventilation)
Circuit Diagram
Inspection
Driver/Passenger
Check for continuity and measure the resistance between terminals.
SEE MORE:
Glass Adjustment
WARNING
Check the glass run channel for damage or deterioration, and replace
it if necessary.
Remove the front door trim.
(Refer to Front Door - "Front Door Trim")
Lower the glass by operating the power window switch until the gl
Condensor - Replacement
Remove the condensor.
(Refer to Air conditioning System - "Condensor")
Using a Lwrench, remove the cap (A) on the bottom of the receiver-drier.
Remove the receiver-drier (A) from condenser using a long nose plier.
Check
Information
- Home
- Hyundai Tucson - Fourth generation (NX4) - (2020-2023) - Owner's Manual
- Hyundai Tucson - Fourth generation (NX4) - (2020-2023) - Workshop Manual